


1. 安装 Apache Server
# Install Apache Server
sudo apt update
sudo apt -y install apache2
# start Apache
sudo systemctl restart apache2
打开80端口
# Update firewall settings
sudo iptables -I INPUT 6 -m state --state NEW -p tcp --dport 80 -j ACCEPT
sudo netfilter-persistent save
这样可以打开全部端口,但是如果服务器重启,这些记录不会被保存,如果想持续化规则
# Install iptables-persistent
apt-get install iptables-persistent

# Permanent preservation rule
netfilter-persistent save
netfilter-persistent reload
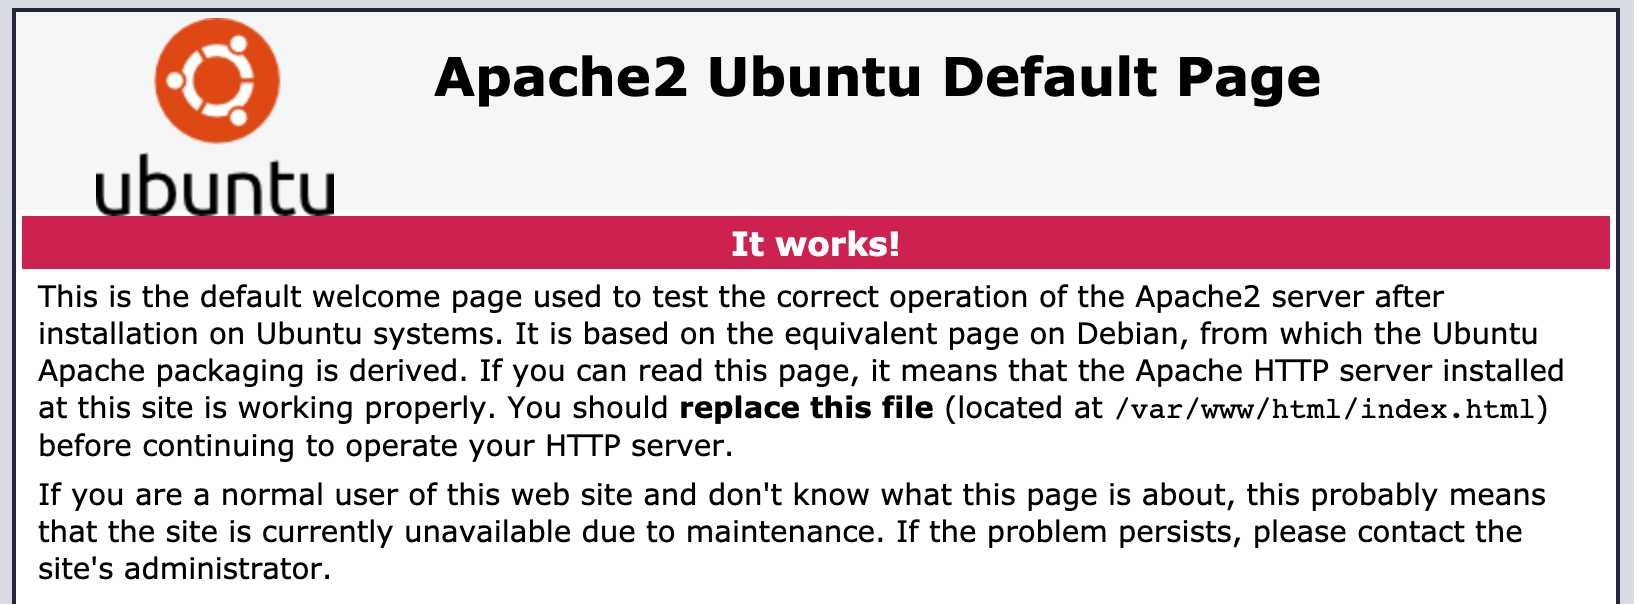
现在可以直接访问 “http://your-public-ip-address” 或 通过命令来测试
curl localhost
Some Errors
- 如果无法访问可以检查是否已经打开了运营商的防火墙
- 如果自动跳转到www.your-public-ip-address:80,则是没有服务在使用 80 端。 这样的错误通常是 Apache 配置错误,可以尝试查看日志解决(这个好)或者重新安装(不推荐)
systemctl status apache2
2. 安装 php
# Install php7
sudo apt -y install php libapache2-mod-php
# Verify installation and restart apache2 service
php -v
sudo systemctl restart apache2
添加一个php文件来获取更多有关网站和服务器的信息
sudo vi /var/www/html/info.php
# Copy the following

<?php
phpinfo();
?>
通过 "http://your-public-ip-address/info.php"来访问
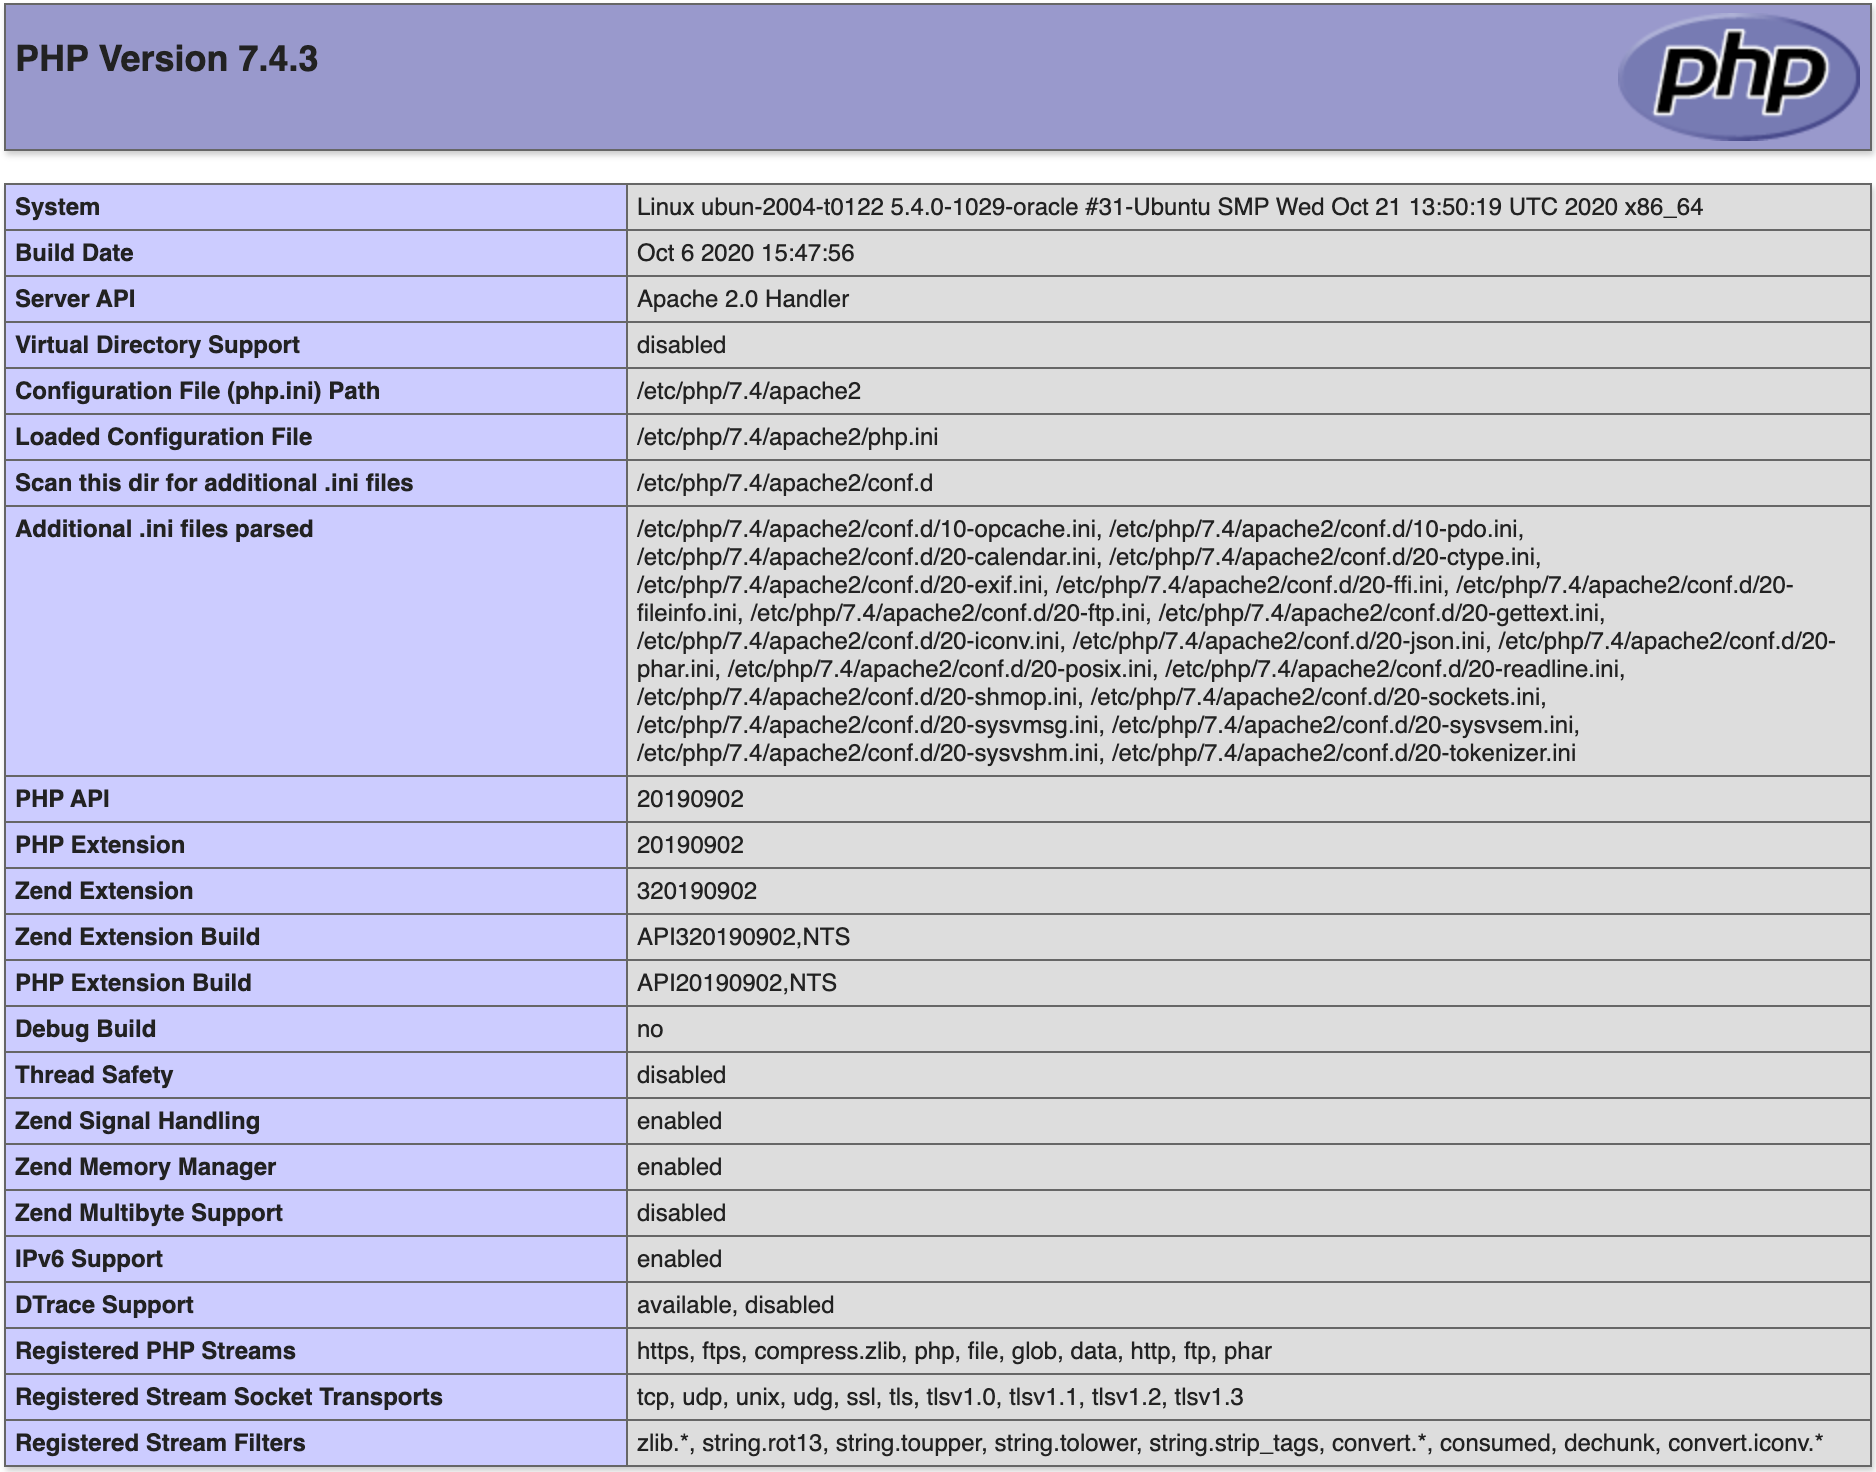
请在测试完成后将 info.php 文件删除
现在,你可以在 /var/www/html 目录下继续创作你的网页了
评论区